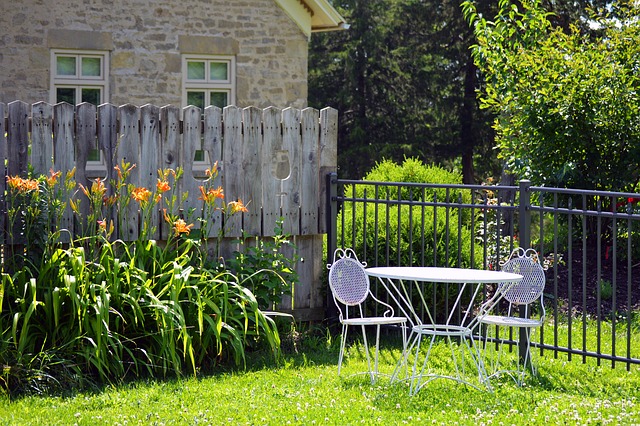
Introduction
Taking real estate photos with an iPhone has become increasingly popular due to the convenience and quality of the device’s camera. With a few tips and tricks, you can capture stunning images that showcase the best features of a property. In this article, we will explore the techniques and tools you can use to take professional-looking real estate photos with your iPhone.
1. Prepare the Space
Before you start taking photos, it’s essential to prepare the space you’ll be photographing. Clean and declutter the area to create a visually appealing environment. Remove personal items and unnecessary objects that may distract potential buyers. Ensure that the space is well-lit, both naturally and with artificial lighting if needed.
2. Use Natural Light
One of the key factors in capturing great real estate photos is lighting. Whenever possible, utilize natural light to create a warm and inviting atmosphere. Open curtains and blinds to let in as much light as possible. Avoid using the iPhone’s flash, as it can create harsh shadows and unnatural lighting.
3. Capture Wide-Angle Shots
To showcase the spaciousness of a property, use the iPhone’s wide-angle lens or consider investing in a wide-angle lens attachment. Wide-angle shots can make rooms appear larger and give potential buyers a better sense of the space. However, be mindful of distortion and ensure that the proportions of the room remain accurate.
4. Use HDR Mode
The iPhone’s HDR (High Dynamic Range) mode can help you capture photos with a greater range of colors and details. HDR mode combines multiple exposures into a single image, resulting in a well-balanced photo, especially in challenging lighting conditions. Enable HDR mode in the iPhone’s camera settings for optimal results.
5. Utilize the Grid and Level Tools
To ensure that your photos are straight and well-aligned, enable the grid and level tools on your iPhone. The grid tool helps you compose your shots using the rule of thirds, while the level tool ensures that your photos are perfectly straight. These tools can greatly enhance the overall quality of your real estate photos.
6. Experiment with Different Angles
Don’t be afraid to try different angles and perspectives when taking real estate photos. Capture shots from low angles to highlight architectural details or shoot from higher angles to showcase the layout of a room. Experimenting with different angles can add variety to your photos and make them more visually interesting.
7. Edit and Enhance
After taking the photos, it’s time to edit and enhance them to make them truly stand out. There are numerous photo editing apps available for iPhones that offer a range of editing tools and filters. Adjust the brightness, contrast, and saturation levels to make the photos more vibrant and appealing. However, be careful not to overdo the editing, as it can make the images look unnatural.
Conclusion
Taking real estate photos with an iPhone is a convenient and effective way to capture stunning images. By following these tips, you can enhance the quality of your photos and showcase the best features of a property. Remember to prepare the space, utilize natural light, and experiment with different angles. Don’t forget to edit and enhance the photos to make them visually appealing. With practice and attention to detail, you can take professional-looking real estate photos with your iPhone.
References
– National Association of Realtors: www.nar.realtor
– Digital Photography School: digital-photography-school.com
– Photography Life: photographylife.com